实战:CentOS7 一步步部署安装 jumpserver1.2,看看都踩过哪些坑。
Jumpserver 终于升级到1.2版本了!之前试用了1.0版本,由于 Bug 太多,搭建的时候各种报错,简直噩梦。搭建后还是有乱码等问题,因时间关系就没继续折腾了。这次听说1.2版本修复了不少 Bug,效果不错就决定继续折腾了。
部署环境
系统:CentOS7.4
IP: 172.31.12.12
关闭 selinux 及防火墙
准备
安装前准备,selinux,防火墙及字符集配置
1
2
3
4
5
6
7
8
9
10
11
12
13
14
15
16
17
|
$ sudo sed -i 's/^SELINUX=enforcing/SELINUX=disabled/' /etc/selinux/config
$ sudo setenforce 0
$ sudo systemctl stop iptables firewalld
$ sudo systemctl disable iptables firewalld
localedef -c -f UTF-8 -i zh_CN zh_CN.UTF-8
echo > /etc/profile.d/locale.sh << EOF
export LC_CTYPE=zh_CN.UTF-8
export LC_ALL=zh_CN.UTF-8
EOF
echo 'LANG=zh_CN.UTF-8' > /etc/locale.conf
export LC_ALL=zh_CN.UTF-8
yum -y install wget sqlite-devel xz gcc automake zlib-devel openssl-devel epel-release git
|
Python3
将 python 由2.7升级至3.6.5。本次安装目录为 /usr/local/python。本机只用来做跳板机,没有其他的项目,配置的是 Python3 的真实环境。所以需保留 python2 并将系统默认 Python 版本改为 python3 。
1
2
3
4
5
6
7
8
9
10
11
12
13
14
15
16
17
18
19
20
21
22
23
| ## 下载安装 Python3
$ wget https://www.python.org/ftp/python/3.6.5/Python-3.6.5.tar.xz
$ sudo tar xf Python-3.6.5.tar.xz -C /usr/local
$ cd /usr/local/Python-3.6.5/
$ sudo ./configure --prefix=/usr/local/python && make && make install
## 修改系统 python 默认版本为 python3 并保留 python2.7
$ which -a python
$ ll /usr/bin/py*
$ ll /usr/bin/easy*
$ sudo mv /usr/bin/pydoc{,2}
$ sudo mv /usr/bin/python{,.old}
$ sudo mv /usr/bin/easy_install{,2}
$ sudo mv /usr/bin/pip{,.old}
$ sudo ln -sf /usr/local/python/bin/python3 /usr/bin/python
$ sudo ln -sf /usr/local/python/bin/pydoc3 /usr/bin/pydoc
$ sudo ln -sf /usr/local/python/bin/easy_install-3.6 /usr/bin/easy_install
$ sudo ln -sf /usr/local/python/bin/idle3 /usr/bin/idle3
$ sudo ln -sf /usr/local/python/bin/pip3 /usr/bin/pip
## 对以下软件使用 python2.7
$ sudo sed -i 's@#!/usr/bin/python@#!/usr/bin/python2.7@' /usr/bin/yum
$ sudo sed -i 's@#!/usr/bin/python@#!/usr/bin/python2.7@' /usr/libexec/urlgrabber-ext-down
## 升级 pip3
$ sudo pip install --upgrade pip
|
Jumpserver
下载或克隆 jumpserver 项目
1
2
| $ cd /opt
$ git clone --depth=1 https://github.com/jumpserver/jumpserver.git && cd jumpserver && git checkout master
|
安装 YUM 包依赖及 Python 库依赖
1
2
| $ cd /opt/jumpserver/requirements
$ sudo yum -y install $(cat rpm_requirements.txt)
|
使 boto3/botocore/certifi 版本以兼容 jms-storage
此坑一。
1
2
| $ sed -e 's/boto3==1.6.4/boto3==1.6.5/' -e 's/botocore==1.9.4/botocore==1.9.5/' -e 's/certifi==2017.11.5/certifi==2018.1.18/' /opt/jumpserver/requirements/requirements.txt
$ sudo pip install -r requirements.txt
|
备注:http://mirrors.aliyun.com/pypi/simple/
数据库 MySQL 及 Redis
数据库搭建
创建并配置数据库 mysql/redis 做 cache 和 celery broke
这里使用的是云数据库 RDS 和 Redis,就不写创建过程了。相关配置可参考之前博客,创建完毕后配置数据库白名单记录下数据库连接地址及配置信息备用。
配置 Jumpserver 数据库连接信息
1
2
3
4
5
| $ cd /opt/jumpserver
$ cp config_example.py config.py
$ vi config.py
|
注意: 配置文件是 Python 格式,不要用 TAB,而要用空格
1
2
3
4
5
6
7
8
9
10
11
12
13
14
15
16
17
18
19
20
21
22
23
24
25
26
27
28
29
30
| class DevelopmentConfig(Config):
...
DB_ENGINE = 'mysql'
DB_HOST = 'rm-xxxxxxxoooooo.mysql.rds.aliyuncs.com'
DB_PORT = 3306
DB_USER = 'jumpserver'
DB_PASSWORD = 'somepassword'
DB_NAME = 'jumpserver'
HTTP_BIND_HOST = '0.0.0.0'
HTTP_LISTEN_PORT = 8080
REDIS_HOST = 'r-xoxoxoxoxoxo.redis.rds.aliyuncs.com'
REDIS_PORT = 6379
REDIS_PASSWORD = 'somepassword'
BROKER_URL = 'redis://%(password)s%(host)s:%(port)s/3' % {
'password': REDIS_PASSWORD,
'host': REDIS_HOST,
'port': REDIS_PORT,
}
...
config = DevelopmentConfig()
|
生成数据库表结构和初始化数据
1
2
| $ cd /opt/jumpserver/utils
$ bash make_migrations.sh
|
导入 sql 时遇到的问题:
此坑二。
ln -sf /usr/local/python/bin/gunicorn /usr/bin/gunicorn
注:修复 FileNotFoundError: [Errno 2] No such file or directory: 'gunicorn': 'gunicorn' 报错。
ln -sf /usr/local/python/bin/celery /usr/bin/celery
注:修复 FileNotFoundError: [Errno 2] No such file or directory: 'celery': 'celery' 报错。
启动验证 Jumpserver
1
2
3
4
| $ cd /opt/jumpserver
$ ./jms start all
|
运行不报错,请浏览器访问 http://172.31.12.12:8080/ 默认账号: admin 密码: admin 页面显示不正常先不用处理,搭建 nginx 代理就可以正常访问了
安装 SSH Server 和 WebSocket Server: Coco
下载或获取项目
1
2
3
4
5
6
7
8
| $ cd /opt
$ git clone https://github.com/jumpserver/coco.git && cd coco && git checkout master
$ cd /opt/coco/requirements
$ sudo yum -y install $(cat rpm_requirements.txt)
$ sudo sed -e 's/paramiko==2.4.0/paramiko==2.4.0/' -e 's/pyte==0.7.0/pyte==0.5.2/' -e 's/pytz==2017.3/pytz==2017.2/' /opt/coco/requirements/requirements.txt
$ sudo pip install -r requirements.txt
|
查看配置文件并运行
1
2
3
4
5
| $ cd /opt/coco
$ cp conf_example.py conf.py
$ sudo ./cocod start
|
接受注册
启动成功后去Jumpserver→会话管理→终端管理( http://172.31.12.12:8080/terminal/terminal/ )接受coco的注册,如果页面不正常可以等部署完成后再处理
安装 Web Terminal 前端 Luna
Luna 已改为纯前端,需要 Nginx 来运行访问。
访问( https://github.com/jumpserver/luna/releases )下载对应版本的 release 包,直接解压,不需要编译
解压 Luna
1
2
3
4
| $ cd /opt/
$ wget https://github.com/jumpserver/luna/releases/download/v1.0.0/luna.tar.gz
$ tar xvf luna.tar.gz
$ ls /opt/luna
|
配置 Nginx 整合各组件
可以直接 yum 安装 nginx。编译安装的话请参考之前博客
准备配置文件 修改 /etc/nginx/nginx.conf将以下代码替换文件中的 server 模块:
1
2
3
4
5
6
7
8
9
10
11
12
13
14
15
16
17
18
19
20
21
22
23
24
25
26
27
28
29
30
31
32
33
34
35
36
37
38
39
40
41
42
43
44
45
46
47
48
49
50
51
52
53
54
55
56
57
58
59
60
61
62
63
64
65
66
67
68
69
70
71
72
73
74
75
76
77
| server {
listen 80;
server_name j1.opstrip.com;
proxy_set_header X-Real-IP $remote_addr;
proxy_set_header Host $host;
proxy_set_header X-Forwarded-For $proxy_add_x_forwarded_for;
if ( $scheme = http ){
return 301 https://j1.opstrip.com$request_uri;
}
}
server {
listen 443;
server_name j1.opstrip.com;
ssl on;
ssl_certificate /etc/nginx/cert.d/opstrip.com/opstrip.com.crt;
ssl_certificate_key /etc/nginx/cert.d/opstrip.com/opstrip.com.key;
ssl_session_cache shared:SSL:1m;
ssl_session_timeout 5m;
proxy_set_header X-Real-IP $remote_addr;
proxy_set_header Host $host;
proxy_set_header X-Forwarded-For $proxy_add_x_forwarded_for;
location /luna/ {
try_files $uri / /index.html;
alias /opt/luna/;
}
location /media/ {
add_header Content-Encoding gzip;
root /opt/jumpserver/data/;
}
location /static/ {
root /opt/jumpserver/data/;
}
location /socket.io/ {
proxy_pass http://localhost:5000/socket.io/;
proxy_buffering off;
proxy_http_version 1.1;
proxy_set_header Upgrade $http_upgrade;
proxy_set_header Connection "upgrade";
}
location / {
proxy_pass http://localhost:8080;
}
access_log /var/log/nginx/access_jumpserver.log;
error_log /var/log/nginx/error_jumpserver.log;
}
|
将 SSL 证书放入到相应位置。启动 nginx 与 jumpserver 等组件。
1
2
3
4
5
6
7
8
9
10
|
$ sudo systemctl enable nginx
$ sudo systemctl start nginx
$ nginx -t
$ cd /opt/jumpserver
$ ./jms start all -d
$ cd /opt/coco
$ ./cocod start -d
|
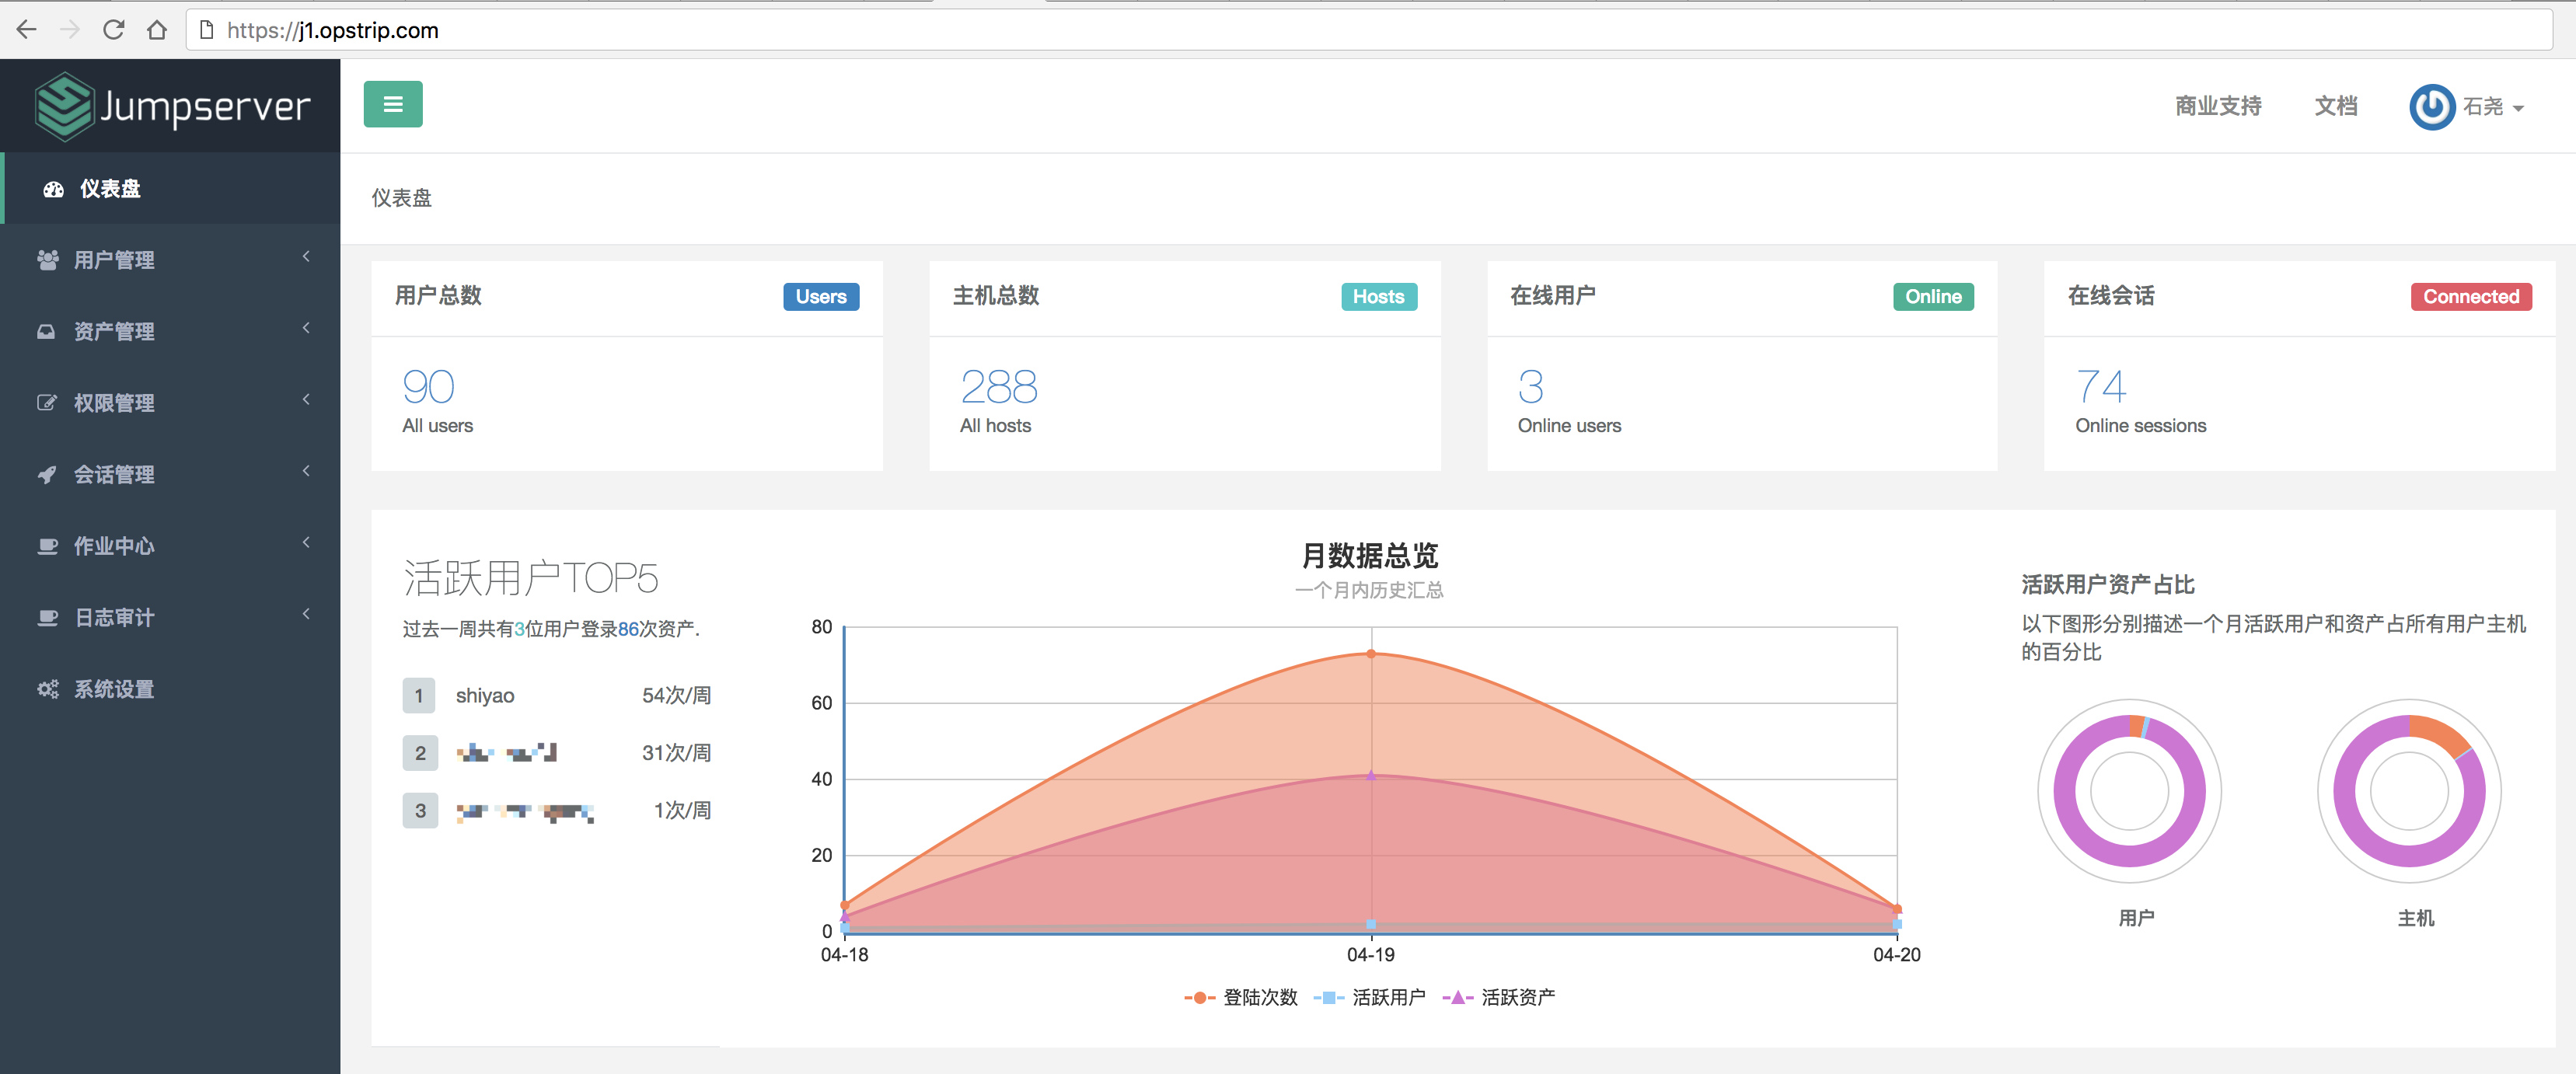
服务全部启动后,访问域名 (https://j1.opstrip.com) 就可以访问跳板机了。
默认账号: admin 密码: admin 见下图:

如果部署过程中没有接受应用的注册,需要到Jumpserver→会话管理→终端管理 接受 Coco Guacamole 等应用的注册。
测试连接
也可以添加 ssh 的 key 来登录验证,这样就不需要每次登录输入密码了。enjoy it!


